Tuesday 27 February 2018

WELCOME MODERATOR

Thomas Richards
1448
Claremont Fan Court School 64680

Welcome to my blog:
I worked with Matthew Bowes 1468.
I hope that you enjoy my blog.

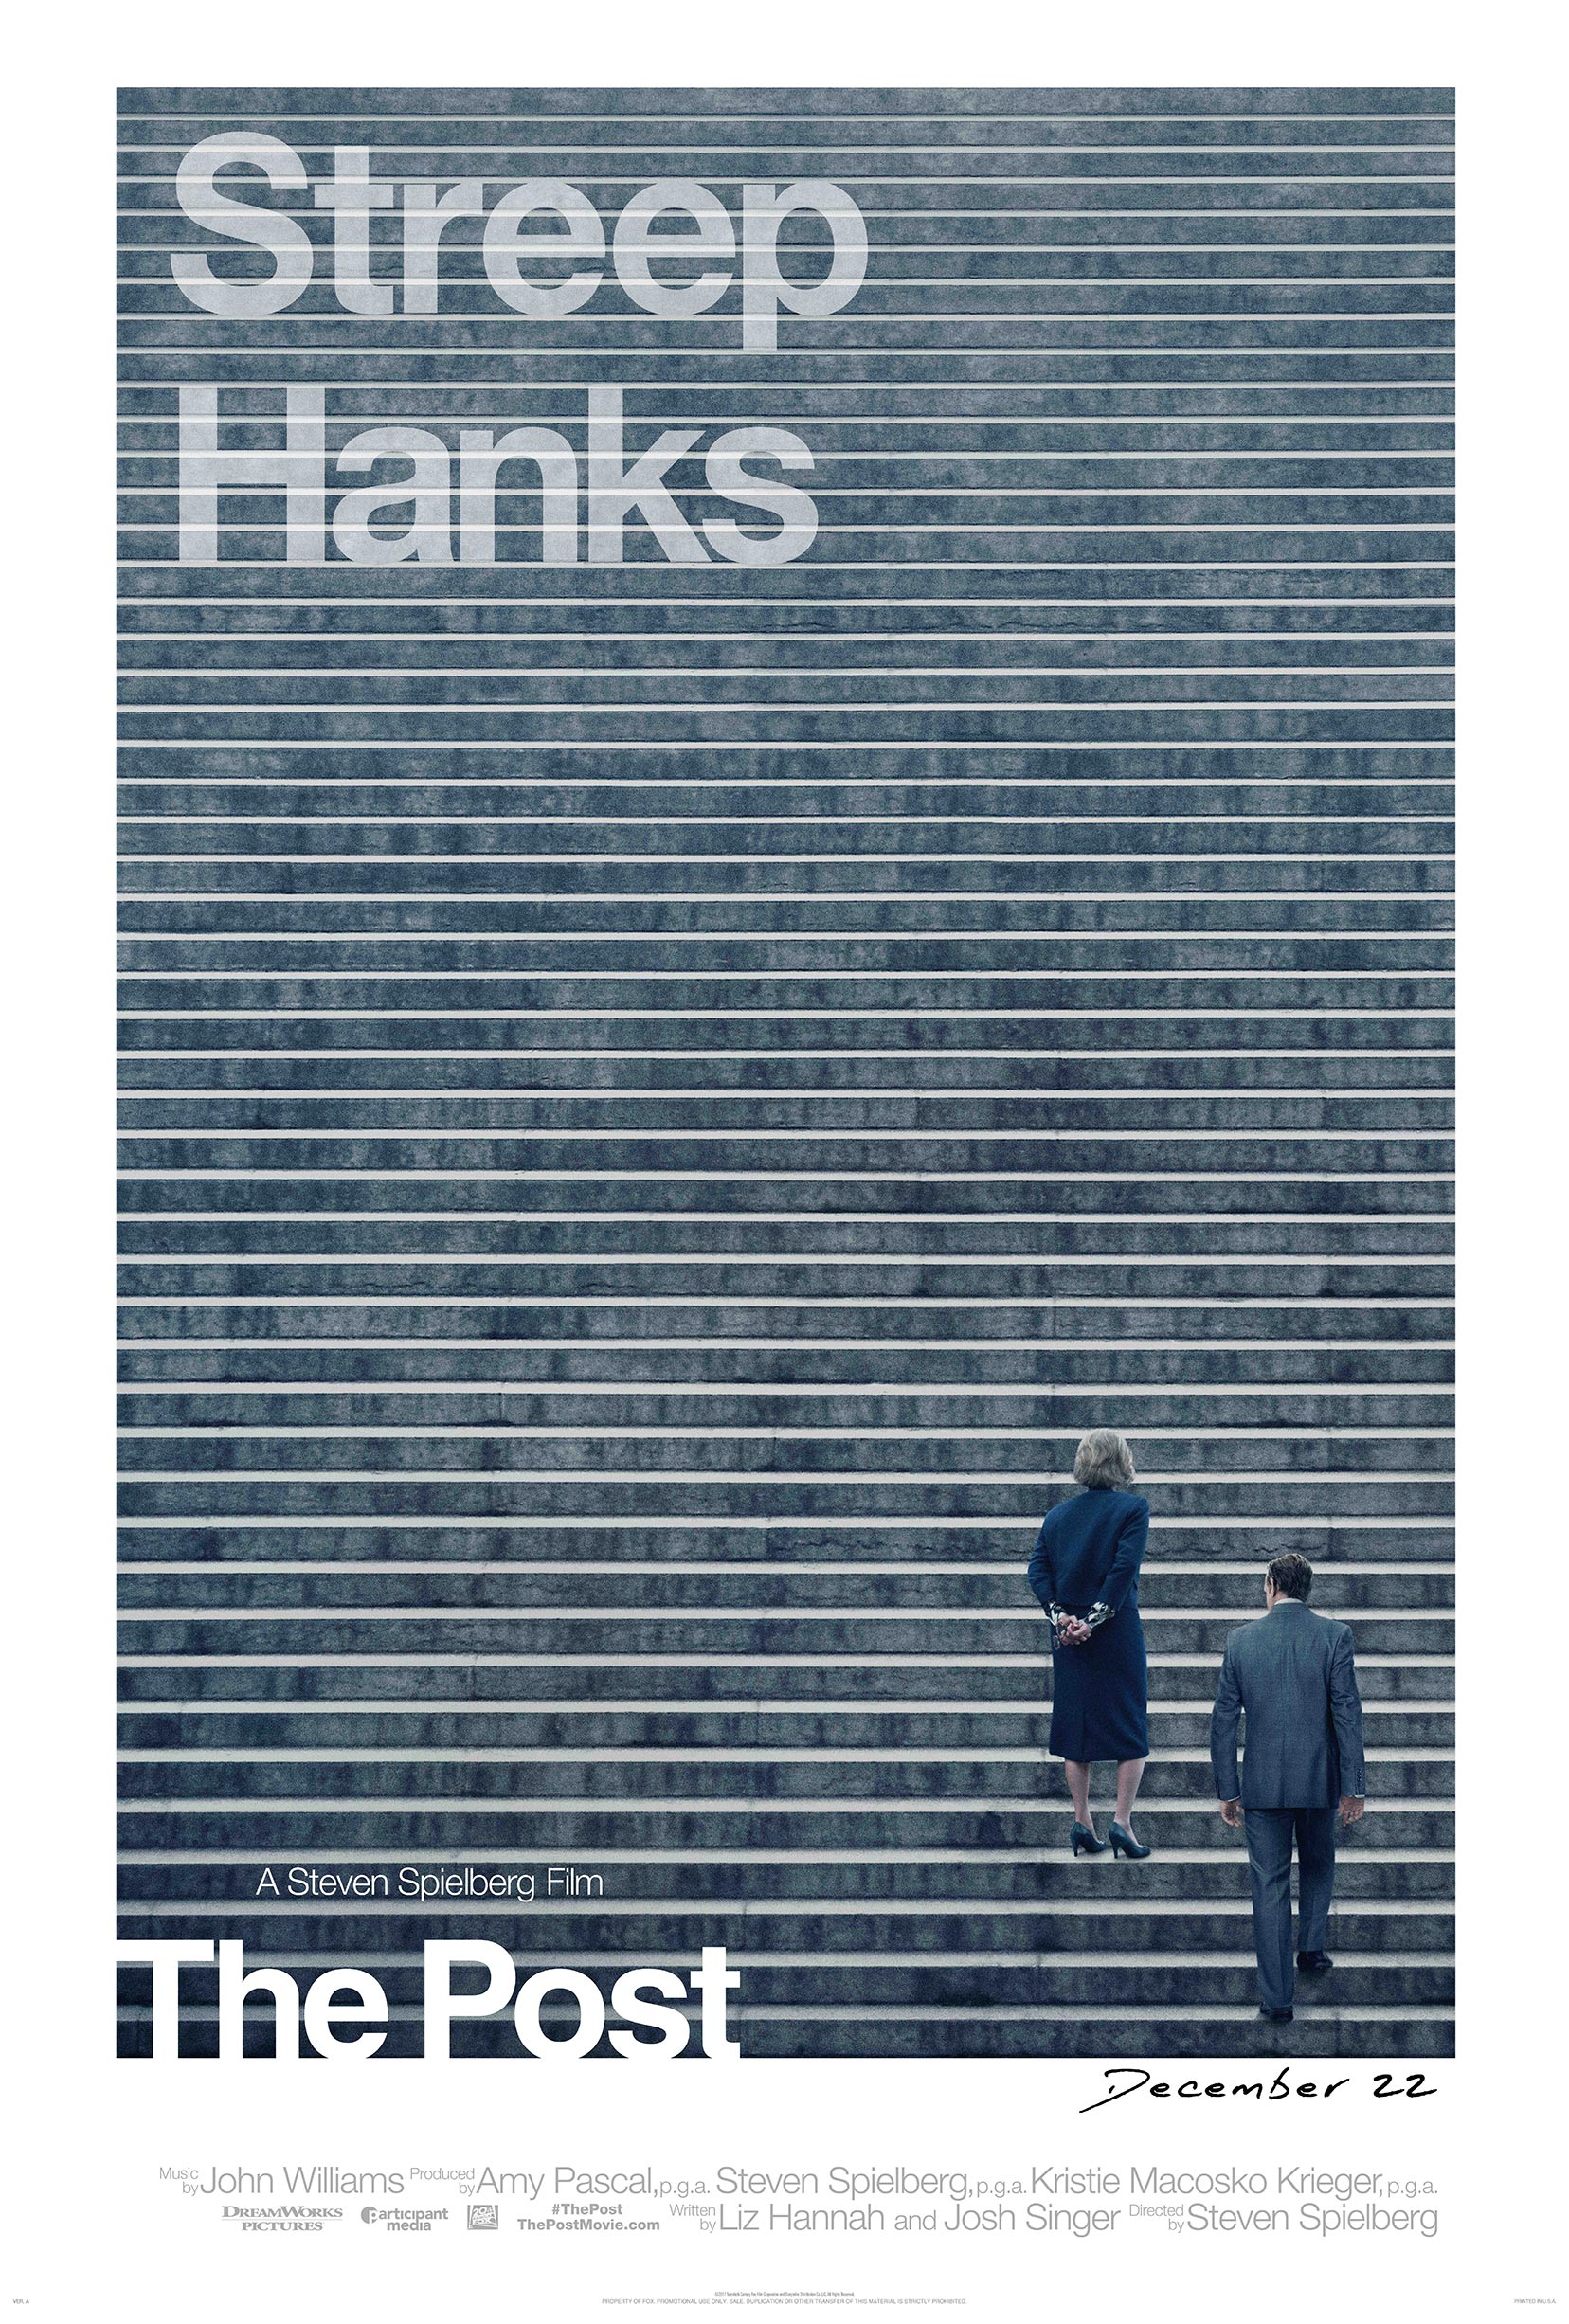
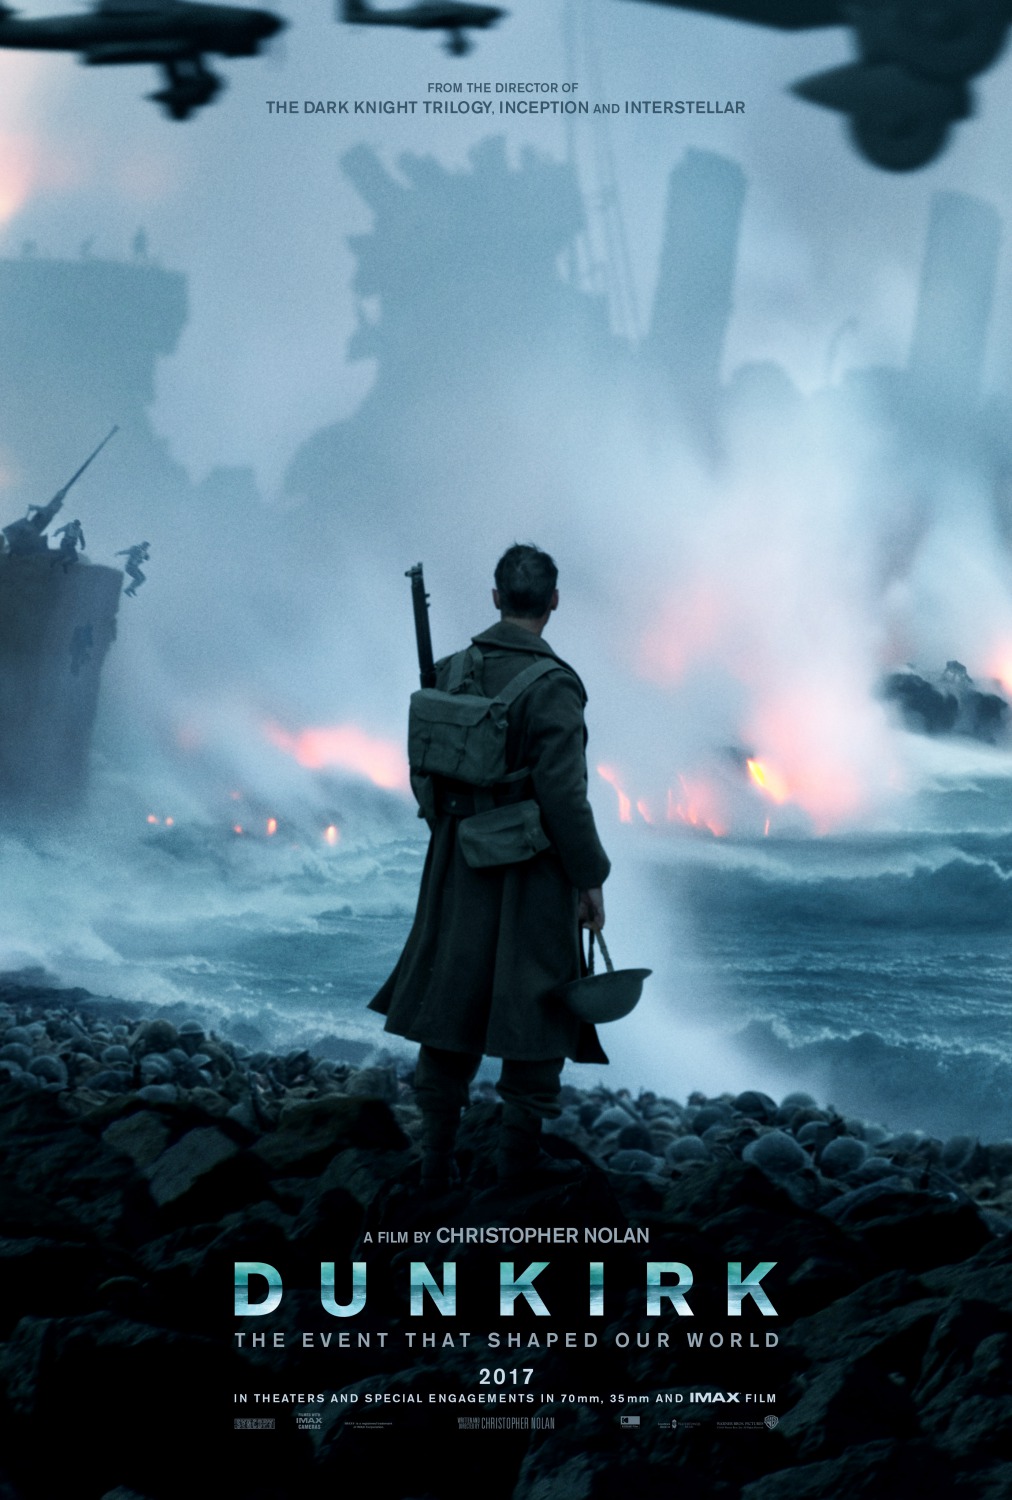
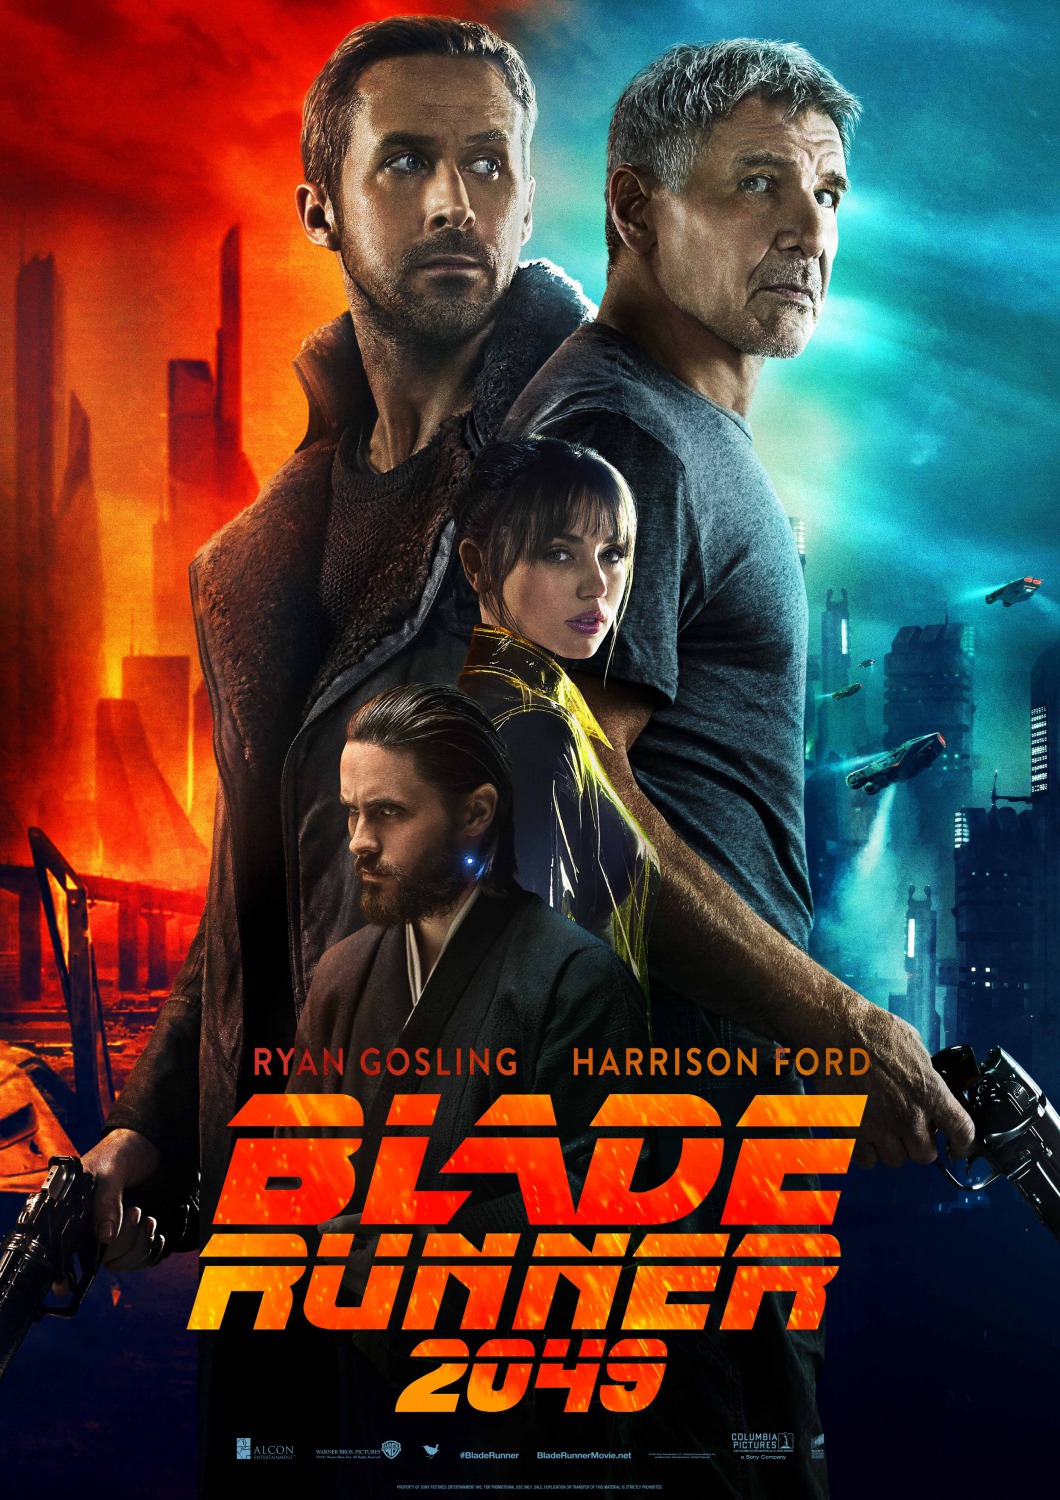
Brief 2: I made a promotional package to include a trailer, together with a film magazine front cover, featuring the film and a poster for the film. Our TRAILER is immediately below. My individual FILM MAGAZINE COVER and individual POSTER are above.


took responsibility for: Acting, Writing, Directing and Director of Photography for certain scenes.

All my research and planning follows below that on the main blog roll, in reverse order, starting with the latest first. To present my research and planning, I have used a wide variety of platforms and tools, including Emaze, Blogger and Slideshare.

My EVALUATION is above under four Pages. Clicking on each tab will show the research and planning that went into my responses to these questions. 
To present my responses, I have used the following platforms: 


Question 1 on genre conventions: FinalCut Pro annotations
Question 2 on combination of main and ancillaries: Slideshare
Question 3 on feedback: Emaze
Question 4 on technologies: Piktochart


Wednesday 17 January 2018

RESEARCH: GREEN SCREEN

In todays lesson, in order to research different ways of creating environments in film, we were shown how to create green screen and implement it into our film. We learnt how to set up a green screen using a green piece of cloth attatched to a black frame. It is used to take one image or video of a person and transform it against the green screen so it appears that the character is in another location via a pre taken photo.
This works by using two layers, the front (or top) layer being used for the primary filming of the character and the second layer used for the background image (similar to layering in photoshop). The app Green Screen by Do Ink is used to combine the two seperate images into one by layering, meaning that it is easy to access and easy to use. The finished video will be in 1080p.

Tuesday 16 January 2018

PLANNING: MAGAZINE COVER

In order to create my magazine cover, I have been researching a varity of well known film magazines to gain an idea of the magazine cover conventions that I must use for my film magazine. I decided that my Film Magazine will be entitled Shoot!. The reason I chose this name was to convey the term widely used for practical filming. My Magazine Cover is heavily inspired by various Entertainment Weekly magazine covers, primarily its August 2006 cover featuring Hugh Laurie in character as Gregory House in the main image. My magazine cover will feature the protagonist (PI Andrews) in the main image with a gun in his hand, looking towards the camera and taking up most of the space on the cover.


In order to construct my magazine cover, I will carry out a photoshoot to attain the main image against a white background so that it is easy to photoshop other images onto it. As most magazine covers use a Rule of Three when it comes to main colours, I will do the same, with my three colours being blue, white and yellow. I decided that my magazine cover will also feature genre conventions such as direct address, a tagline and additional information about the film.
Image result for entertainment weekly  2006

Wednesday 10 January 2018

CONSTRUCTION: MAKING PROPS

For our genre of film, verisimilitude is vital. We needed to have props that looked very convincing and mysterious, such as blood covered possessions that belonged to the cult. The most significant of these was an old foreign market stamp that we painted over with crimson in a patchy texture in order to emulate blood. this makes an important part of a shot in the trailer in which PI Andrews finds the mysterious object covered in blood, which gives clues to the investigation.

It ultimately enabled the film to look much more professional due to constructing our own props, and it flowed greatly in the scene in which it features rather than looking out of place.

CONSTRUCTION: COLOUR CORRECTION

As part of the editing for our film, we found it necessary to colour correct parts of the film to make it look more realistic. the prime example of this was in using colour correction to change the colour of the nozzle of our prop gun from red to black. To achieve this in FinalCut Pro, we created a shape mask around the tip of the gun using an eyedrops to get the correct colour, increasing the softness and reducing the vibrancy and saturation of the tip to create the grey/black tip of the gun. This was extremely beneficial as it enabled us to transform an obviously fake looking prop into something that looked far more realistic, thus enhancing the realism of the film.


Tuesday 12 December 2017

PLANNING: FILM POSTER

In order to gain inspiration for the film poster I am making for my trailer, I decided to look at several different film posters from different genres that caught my eye. An important feature of a poster is that it should signal the genre. For instance, the film poster for The Post (2017) should be sharp and dark in colour to signal the dramatic tone of the film.
Image result for the post poster
Image result for film posters 2017


Having looked at these two posters in detail, it has given me inspiration for the poster design for The Damned. My initial ideas for my film poster include a picture of the protagonist and the 'bent cop' standing side by side in the centre with the action of the film (and the existence of the cult) photoshopped into the bottom of the frame to convey two seperate images that are joined together in smooth editing. My main inspiration for this idea came from the posters for both Najaki (2014) and Blade Runner 2049. (2017)These two posters feature similar concepts to the design I wish to create for my poster, which I will be able to accomplish through the use of photoshop.
Image result for blade runner 2049 poster
Image result for kajaki film poster

Friday 1 December 2017

RISK ASSESSMENT FOR FILMING

Before filming the bulk of our film at the farm in Cobham, we were encouraged to make a risk assessment for the shoot in the case of anything going wrong. We were able to use a template as inspiration for this. When we filmed the majority of scenes there was little risk but all was written in the assessment. The risk assessment can be found below.


WELCOME MODERATOR

Thomas Richards 1448 Claremont Fan Court School 64680 Welcome to my blog: I worked with Matthew Bowes 1468. I hope that you enj...